Difference between revisions of "Bubble Bobble/Comparisons"
From Sega Retro
| (6 intermediate revisions by 3 users not shown) | |||
| Line 1: | Line 1: | ||
{{back}} | {{back}} | ||
| + | ==Localisation comparisons== | ||
| + | ===Master System version=== | ||
| + | {{Comparison | ||
| + | | image1=BubbleBobble SMS JP SegaLogo.png | ||
| + | | image2=BubbleBobble SMS EU SegaLogo.png | ||
| + | | game1=JP version | ||
| + | | game2=EU version | ||
| + | | desc=The Japanese version has a ® symbol next to the Sega logo. | ||
| + | }} | ||
| + | {{Comparison | ||
| + | | image1=BubbleBobble SMS JP Title.png | ||
| + | | image2=BubbleBobble SMS title.png | ||
| + | | game1=JP version | ||
| + | | game2=EU version | ||
| + | | desc=The Japanese version calls itself ''Final Bubble Bobble''. This was reverted to the standard title in the European release. The [[Taito]] logo and copyright information were also updated. | ||
| + | }} | ||
| + | {{Comparison | ||
| + | | image1=BubbleBobble SMS JP GameOver.png | ||
| + | | image2=BubbleBobble SMS EU GameOver.png | ||
| + | | game1=JP version | ||
| + | | game2=EU version | ||
| + | | desc=The Japanese version displays hint messages when getting a Game Over. There are a total of 64 messages; 32 for levels 1-100, and 32 for levels 101-200. | ||
| + | }} | ||
| + | |||
==Version comparisons== | ==Version comparisons== | ||
===Title screen=== | ===Title screen=== | ||
| Line 5: | Line 29: | ||
| image1=BubbleBobble SMS title.png | | image1=BubbleBobble SMS title.png | ||
| image2=BubbleBobble GG Title.png | | image2=BubbleBobble GG Title.png | ||
| + | | image3=BubbleBobble Arcade Title.png | ||
| + | | image4=Notavailable.svg | ||
| + | | image5=BubbleBobble CPC title.png | ||
| + | | image6=Notavailable.svg | ||
| + | | image7=Notavailable.svg | ||
| + | | image8=BubbleBobble C64 Title.png | ||
| + | | image9=Notavailable.svg | ||
| + | | image10=Notavailable.svg | ||
| + | | image11=Notavailable.svg | ||
| + | | image12=BubbleBobble IBMPC CGA Title.png | ||
| + | | image13=BubbleBobble IBMPC EGATandy Title.png | ||
| + | | image14=BubbleBobble IBMPC VGA Title.png | ||
| + | | image15=BubbleBobble MSX2 Title.png | ||
| + | | image16=BubbleBobble NES Title.png | ||
| + | | image17=Notavailable.svg | ||
| + | | image18=BubbleBobble Spectrum Title.png | ||
| game1=Master System | | game1=Master System | ||
| game2=Game Gear | | game2=Game Gear | ||
| + | | game3=Arcade | ||
| + | | game4=Amiga | ||
| + | | game5=Amstrad CPC | ||
| + | | game6=Apple II | ||
| + | | game7=Atari ST | ||
| + | | game8=Commodore 64 | ||
| + | | game9=Famicom Disk System | ||
| + | | game10=FM Towns | ||
| + | | game11=Game Boy | ||
| + | | game12=IBM PC (CGA) | ||
| + | | game13=IBM PC (EGA/Tandy) | ||
| + | | game14=IBM PC (VGA) | ||
| + | | game15=MSX2 | ||
| + | | game16=NES | ||
| + | | game17=X68000 | ||
| + | | game18=ZX Spectrum | ||
| desc= | | desc= | ||
}} | }} | ||
| Line 14: | Line 70: | ||
| image1=BubbleBobble SMS Intro.png | | image1=BubbleBobble SMS Intro.png | ||
| image2=BubbleBobble GG Intro.png | | image2=BubbleBobble GG Intro.png | ||
| + | | image3=BubbleBobble Arcade Intro.png | ||
| + | | image4=Notavailable.svg | ||
| + | | image5=Notavailable.svg | ||
| + | | image6=Notavailable.svg | ||
| + | | image7=Notavailable.svg | ||
| + | | image8=BubbleBobble C64 Intro.png | ||
| + | | image9=Notavailable.svg | ||
| + | | image10=Notavailable.svg | ||
| + | | image11=Notavailable.svg | ||
| + | | image12=BubbleBobble IBMPC CGA Intro.png | ||
| + | | image13=BubbleBobble IBMPC EGATandy Intro.png | ||
| + | | image14=BubbleBobble IBMPC VGA Intro.png | ||
| + | | image15=BubbleBobble MSX2 Intro.png | ||
| + | | image16=BubbleBobble NES Intro.png | ||
| + | | image17=Notavailable.svg | ||
| + | | image18=Notavailable.svg | ||
| game1=Master System | | game1=Master System | ||
| game2=Game Gear | | game2=Game Gear | ||
| − | | desc=Save for some slight text adjustments, the introduction is the same for both versions. While the higher screen resolution means more of the swirling effect can be seen on the Master System, it tends to get cut off by the system's sprite limit. | + | | game3=Arcade |
| + | | game4=Amiga | ||
| + | | game5=Amstrad CPC | ||
| + | | game6=Apple II | ||
| + | | game7=Atari ST | ||
| + | | game8=Commodore 64 | ||
| + | | game9=Famicom Disk System | ||
| + | | game10=FM Towns | ||
| + | | game11=Game Boy | ||
| + | | game12=IBM PC (CGA) | ||
| + | | game13=IBM PC (EGA/Tandy) | ||
| + | | game14=IBM PC (VGA) | ||
| + | | game15=MSX2 | ||
| + | | game16=NES | ||
| + | | game17=X68000 | ||
| + | | game18=ZX Spectrum | ||
| + | | desc=Save for some slight text adjustments, the introduction is the same for both Sega | ||
| + | versions. While the higher screen resolution means more of the swirling effect can be seen on the Master System, it tends to get cut off by the system's sprite limit. | ||
}} | }} | ||
| Line 23: | Line 112: | ||
| image1=BubbleBobble SMS Start.png | | image1=BubbleBobble SMS Start.png | ||
| image2=BubbleBobble GG Start.png | | image2=BubbleBobble GG Start.png | ||
| + | | image3=BubbleBobble Arcade Start.png | ||
| + | | image4=Notavailable.svg | ||
| + | | image5=Notavailable.svg | ||
| + | | image6=Notavailable.svg | ||
| + | | image7=Notavailable.svg | ||
| + | | image8=BubbleBobble C64 Start.png | ||
| + | | image9=Notavailable.svg | ||
| + | | image10=Notavailable.svg | ||
| + | | image11=Notavailable.svg | ||
| + | | image12=BubbleBobble IBMPC CGA Start.png | ||
| + | | image13=BubbleBobble IBMPC EGATandy Start.png | ||
| + | | image14=BubbleBobble IBMPC VGA Start.png | ||
| + | | image15=BubbleBobble MSX2 Start.png | ||
| + | | image16=BubbleBobble NES Start.png | ||
| + | | image17=Notavailable.svg | ||
| + | | image18=BubbleBobble Spectrum Start.png | ||
| game1=Master System | | game1=Master System | ||
| game2=Game Gear | | game2=Game Gear | ||
| + | | game3=Arcade | ||
| + | | game4=Amiga | ||
| + | | game5=Amstrad CPC | ||
| + | | game6=Apple II | ||
| + | | game7=Atari ST | ||
| + | | game8=Commodore 64 | ||
| + | | game9=Famicom Disk System | ||
| + | | game10=FM Towns | ||
| + | | game11=Game Boy | ||
| + | | game12=IBM PC (CGA) | ||
| + | | game13=IBM PC (EGA/Tandy) | ||
| + | | game14=IBM PC (VGA) | ||
| + | | game15=MSX2 | ||
| + | | game16=NES | ||
| + | | game17=X68000 | ||
| + | | game18=ZX Spectrum | ||
| desc=Every level on the Game Gear has been adjusted to fit the smaller screen, but while this can mean the shortening (or removal) of platforms, the essence of the level remains. Unfortunately the delay between levels is not changed, meaning on the Game Gear, it becomes very easy to collect any remaining items on screen (therefore defeating the point of what should be a last minute rush). | | desc=Every level on the Game Gear has been adjusted to fit the smaller screen, but while this can mean the shortening (or removal) of platforms, the essence of the level remains. Unfortunately the delay between levels is not changed, meaning on the Game Gear, it becomes very easy to collect any remaining items on screen (therefore defeating the point of what should be a last minute rush). | ||
Latest revision as of 13:44, 9 March 2021
- Back to: Bubble Bobble.
Contents
Localisation comparisons
Master System version
| JP version |
|---|
| EU version |
|---|
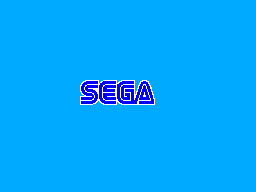
The Japanese version has a ® symbol next to the Sega logo.
| JP version |
|---|
| EU version |
|---|
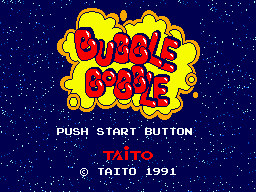
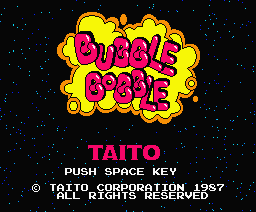
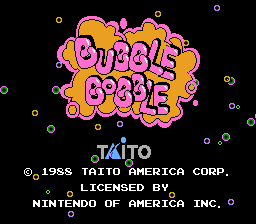
The Japanese version calls itself Final Bubble Bobble. This was reverted to the standard title in the European release. The Taito logo and copyright information were also updated.
| JP version |
|---|
| EU version |
|---|
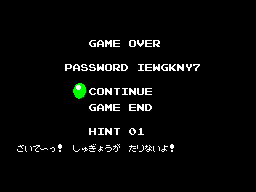
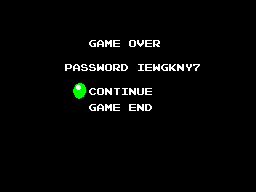
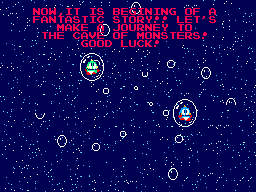
The Japanese version displays hint messages when getting a Game Over. There are a total of 64 messages; 32 for levels 1-100, and 32 for levels 101-200.
Version comparisons
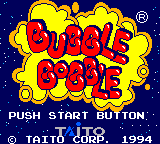
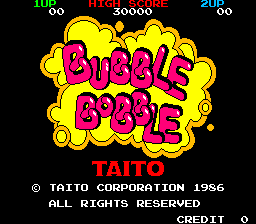
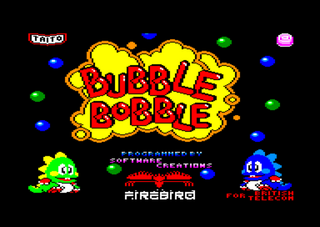
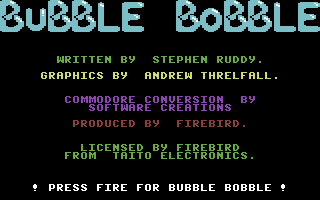
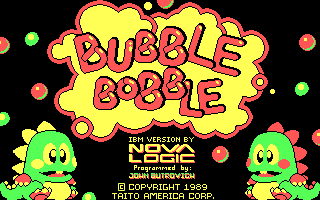
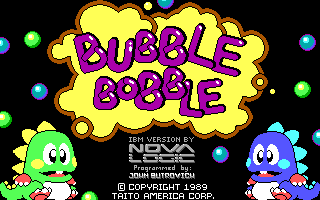
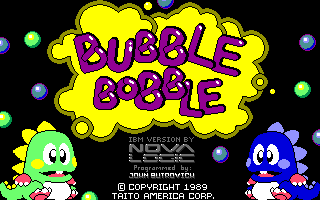
Title screen
| Master System |
|---|
| Game Gear |
|---|
| Arcade |
|---|
| Amiga |
|---|
| Amstrad CPC |
|---|
| Apple II |
|---|
| Atari ST |
|---|
| Commodore 64 |
|---|
| Famicom Disk System |
|---|
| FM Towns |
|---|
| IBM PC (CGA) |
|---|
| IBM PC (EGA/Tandy) |
|---|
| IBM PC (VGA) |
|---|
| MSX2 |
|---|
| NES |
|---|
| X68000 |
|---|
| ZX Spectrum |
|---|
Introduction
| Master System |
|---|
| Game Gear |
|---|
| Arcade |
|---|
| Amiga |
|---|
| Amstrad CPC |
|---|
| Apple II |
|---|
| Atari ST |
|---|
| Commodore 64 |
|---|
| Famicom Disk System |
|---|
| FM Towns |
|---|
| IBM PC (CGA) |
|---|
| IBM PC (EGA/Tandy) |
|---|
| IBM PC (VGA) |
|---|
| MSX2 |
|---|
| NES |
|---|
| X68000 |
|---|
| ZX Spectrum |
|---|
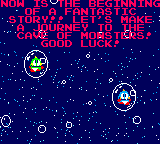
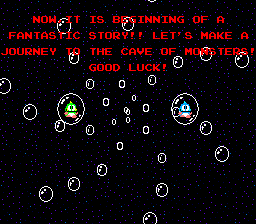
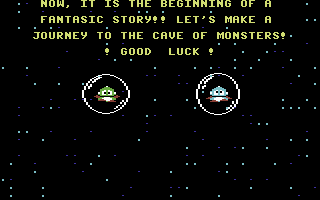
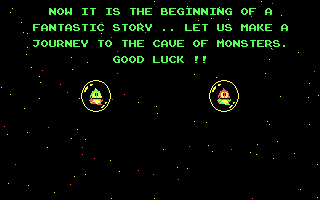
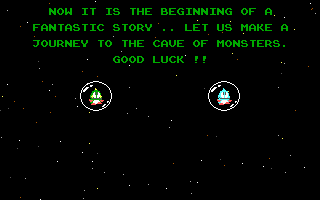
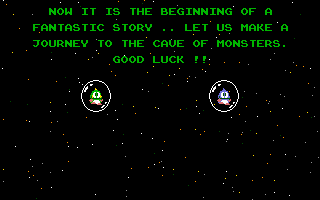
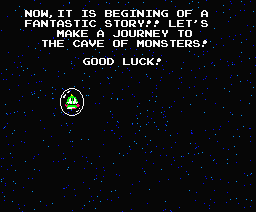
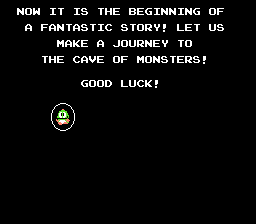
Save for some slight text adjustments, the introduction is the same for both Sega
versions. While the higher screen resolution means more of the swirling effect can be seen on the Master System, it tends to get cut off by the system's sprite limit.
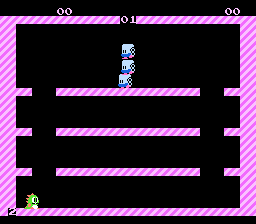
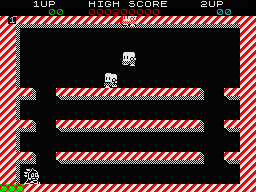
Level 1
| Master System |
|---|
| Game Gear |
|---|
| Arcade |
|---|
| Amiga |
|---|
| Amstrad CPC |
|---|
| Apple II |
|---|
| Atari ST |
|---|
| Commodore 64 |
|---|
| Famicom Disk System |
|---|
| FM Towns |
|---|
| IBM PC (CGA) |
|---|
| IBM PC (EGA/Tandy) |
|---|
| IBM PC (VGA) |
|---|
| MSX2 |
|---|
| NES |
|---|
| X68000 |
|---|
| ZX Spectrum |
|---|
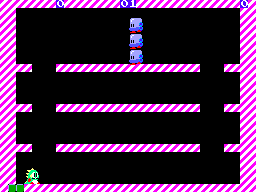
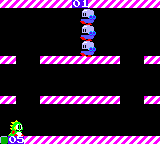
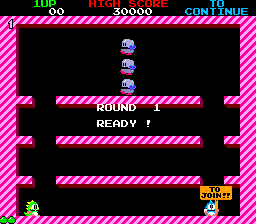
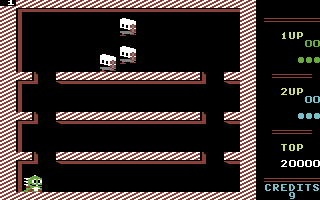
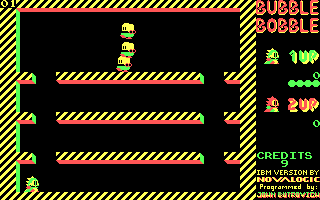
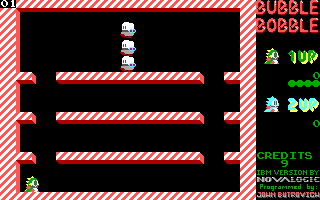
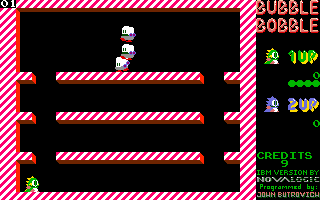
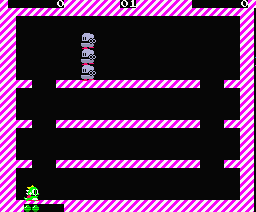
Every level on the Game Gear has been adjusted to fit the smaller screen, but while this can mean the shortening (or removal) of platforms, the essence of the level remains. Unfortunately the delay between levels is not changed, meaning on the Game Gear, it becomes very easy to collect any remaining items on screen (therefore defeating the point of what should be a last minute rush).
The Game Gear also resets the music after every round, rather than having the continuous theme heard in the Master System version (and most other ports of the game).
References
| Bubble Bobble | |
|---|---|
|
Main page | Comparisons | Maps | Hidden content | Magazine articles | Reception | Bootlegs
Prototypes: Prototype
| |

