Difference between revisions of "Crazy Taxi/Hidden content"
From Sega Retro
(ctrl is not required for any of the codes, additional pics) |
|||
| (2 intermediate revisions by 2 users not shown) | |||
| Line 36: | Line 36: | ||
| noimage=yes | | noimage=yes | ||
| desc=On the character select screen, press {{L}}+{{R}} {{L}}+{{R}} {{hold|{{L}}+{{R}}|{{A}}}}. If successful you will hear a bicycle bell and the mode will start in the taxi bike. | | desc=On the character select screen, press {{L}}+{{R}} {{L}}+{{R}} {{hold|{{L}}+{{R}}|{{A}}}}. If successful you will hear a bicycle bell and the mode will start in the taxi bike. | ||
| + | }} | ||
| + | |||
| + | ===Port C options=== | ||
| + | {{HiddenContent | ||
| + | | image1=CrazyTaxi DC US FirstPerson.png | ||
| + | | image2=CrazyTaxi DC US SpeedCounter.png | ||
| + | | image3=CrazyTaxi DC US CinematicView.png | ||
| + | | desc=If a second controller is plugged into port C (assuming the first is plugged into ports A or B), extra view modes can be enabled during gameplay. You have to press {{start}} on this controller before the following functions become available: | ||
| + | *{{B}} switches to a first person (or "dashboard") view (with {{A}} returning it to third-person). | ||
| + | *{{X}} {{X}} {{X}} {{X}} {{X}} enables a speed counter (which can then be triggered off and on with further presses of {{X}}). | ||
| + | *{{Y}} enables a "cinematic" camera, usually reserved for replays. | ||
| + | }} | ||
| + | |||
| + | ==PC retail (2002) version== | ||
| + | |||
| + | ===No destination mark=== | ||
| + | {{HiddenContent | ||
| + | | image1=CrazyTaxi_PC_EU_NoDestinationMark1.png | ||
| + | | image2=CrazyTaxi_PC_EU_NoDestinationMark2.png | ||
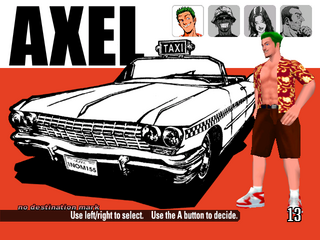
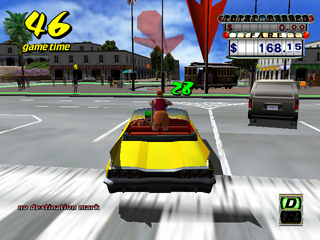
| + | | desc=On the character select screen, press {{key|alt}}+{{key|shift}}+{{key|F5}}, "no destination mark" will appear in the bottom left corner if entered correctly. Now destinations won't have brightly coloured walls showing you were the boundaries are (although there will still be markers on the ground). | ||
| + | }} | ||
| + | |||
| + | ===No arrows=== | ||
| + | {{HiddenContent | ||
| + | | image1=CrazyTaxi_PC_EU_NoArrows1.png | ||
| + | | image2=CrazyTaxi_PC_EU_NoArrows2.png | ||
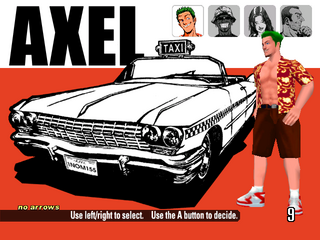
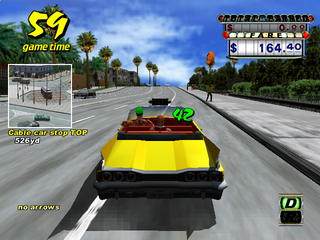
| + | | desc=On the character select screen, press {{key|alt}}+{{key|shift}}+{{key|F6}}, "no arrows" will appear in the bottom left corner if entered correctly. Now there won't be any green arrows showing you where to go. | ||
| + | }} | ||
| + | |||
| + | ===Expert mode=== | ||
| + | {{HiddenContent | ||
| + | | image1=CrazyTaxi_PC_EU_Expert.png | ||
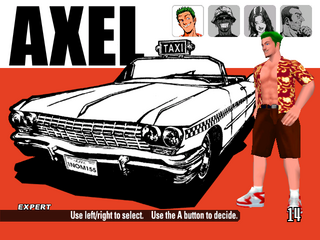
| + | | desc=On the character select screen, press {{key|alt}}+{{key|shift}}+{{key|F7}}, "expert mode" will appear in the bottom left corner if entered correctly. This is essentially the two codes above enabled at the same time with a new badge. | ||
| + | }} | ||
| + | |||
| + | ===Another day mode=== | ||
| + | {{HiddenContent | ||
| + | | image1=CrazyTaxi_PC_EU_AnotherDay1.png | ||
| + | | image2=CrazyTaxi_PC_EU_AnotherDay2.png | ||
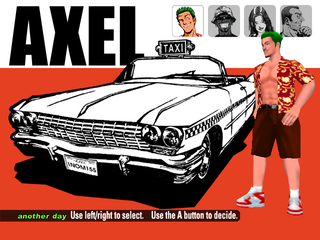
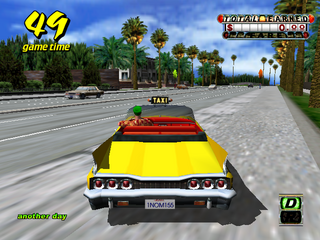
| + | | desc=On the character select screen, press {{key|alt}}+{{key|shift}}+{{key|F8}}. If successful, "another day" will appear in the bottom left hand corner and the game will automatically start. | ||
| + | |||
| + | In this mode, your starting location is different as are some of the fares. | ||
| + | }} | ||
| + | |||
| + | ===Use taxi bike=== | ||
| + | {{HiddenContent | ||
| + | | image1=CrazyTaxi_PC_EU_TaxiBike1.png | ||
| + | | image2=CrazyTaxi_PC_EU_TaxiBike2.png | ||
| + | | desc=On the character select screen, press {{key|alt}}+{{key|shift}}+{{key|F9}}. If successful you will hear a bicycle bell and the game will automatically start using the taxi bike. | ||
| + | }} | ||
| + | |||
| + | ===Function key options=== | ||
| + | {{HiddenContent | ||
| + | | image1=CrazyTaxi_PC_EU_Viewmode1.png | ||
| + | | image2=CrazyTaxi_PC_EU_Viewmode2.png | ||
| + | | image3=CrazyTaxi_PC_EU_Viewmode3.png | ||
| + | | desc=Extra view modes can be enabled during gameplay using the following function keys: | ||
| + | *{{key|alt}}+{{key|shift}}+{{key|F5}} restores the standard camera if alternative view modes are currently being used. | ||
| + | *{{key|alt}}+{{key|shift}}+{{key|F6}} enables a static "cinematic" camera, usually reserved for replays. Keep pressing to cycle through different angles. | ||
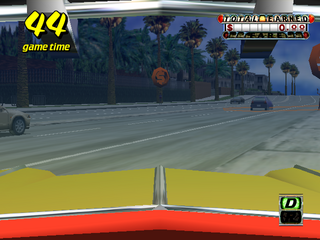
| + | *{{key|alt}}+{{key|shift}}+{{key|F7}} switches to a first person (or "dashboard") view. Press again to cycle front and back facing cameras. | ||
| + | *{{key|alt}}+{{key|shift}}+{{key|F8}} enables a speed counter (which can then be triggered off and on with further presses). | ||
| + | |||
}} | }} | ||
Latest revision as of 06:09, 31 October 2023
- Back to: Crazy Taxi.
 |
This list is incomplete. The following list has been marked as incomplete. If you can, please complete it. |
Contents
Dreamcast version
No destination mark
As the character select screen loads, hold ![]() + START . Now destinations won't have brightly coloured walls showing you were the boundaries are (although they'll still be markers on the ground).
+ START . Now destinations won't have brightly coloured walls showing you were the boundaries are (although they'll still be markers on the ground).
No arrows
As the character select screen loads, hold ![]() + START . Now there won't be any green arrows showing you where to go.
+ START . Now there won't be any green arrows showing you where to go.
Expert mode
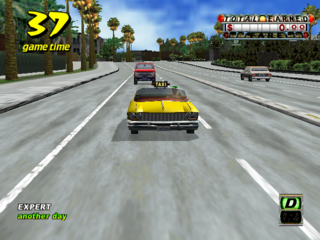
As the character select screen loads, hold ![]() +
+![]() + START . This is essentially the two codes above enabled at the same time with a new badge.
+ START . This is essentially the two codes above enabled at the same time with a new badge.
Another day mode
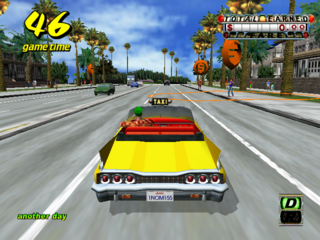
On the character select screen, press ![]() then select your character with HOLD
then select your character with HOLD ![]()
![]() . If successful, "another day" will appear in the bottom left hand corner.
. If successful, "another day" will appear in the bottom left hand corner.
In this mode, your starting location is different as are some of the fares.
Use taxi bike
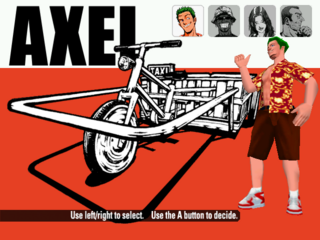
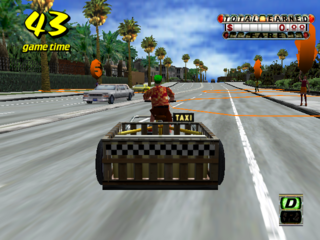
On the character select screen, press ![]() +
+![]()
![]() +
+![]() HOLD
HOLD ![]() +
+![]()
![]() . If successful you will hear a bicycle bell and the mode will start in the taxi bike.
. If successful you will hear a bicycle bell and the mode will start in the taxi bike.
Port C options
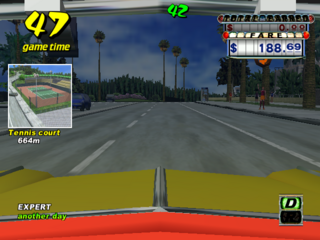
If a second controller is plugged into port C (assuming the first is plugged into ports A or B), extra view modes can be enabled during gameplay. You have to press START on this controller before the following functions become available:
 switches to a first person (or "dashboard") view (with
  returning it to third-person).


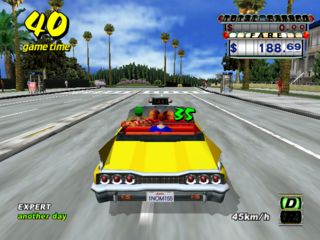
 enables a speed counter (which can then be triggered off and on with further presses of
  ).
). enables a "cinematic" camera, usually reserved for replays.
PC retail (2002) version
No destination mark
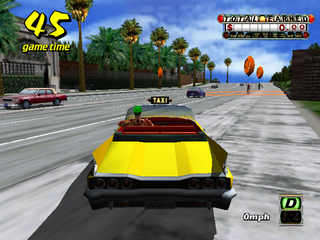
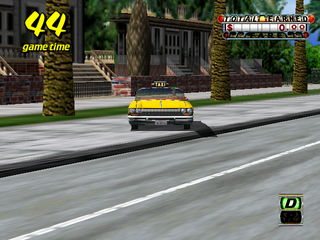
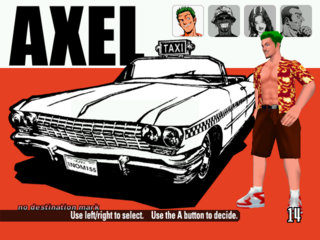
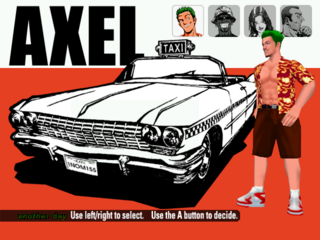
On the character select screen, press alt + shift + F5 , "no destination mark" will appear in the bottom left corner if entered correctly. Now destinations won't have brightly coloured walls showing you were the boundaries are (although there will still be markers on the ground).
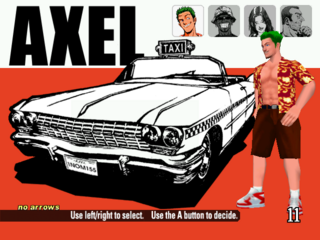
No arrows
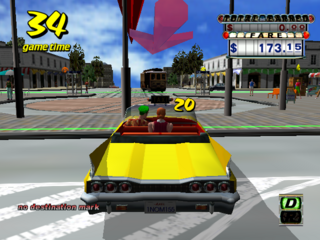
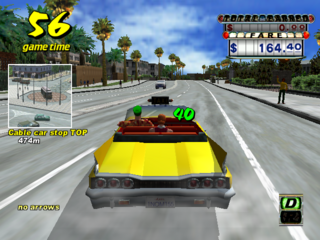
On the character select screen, press alt + shift + F6 , "no arrows" will appear in the bottom left corner if entered correctly. Now there won't be any green arrows showing you where to go.
Expert mode
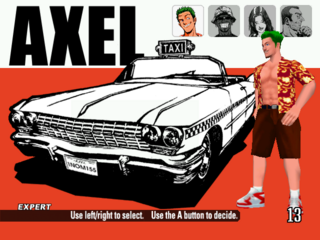
On the character select screen, press alt + shift + F7 , "expert mode" will appear in the bottom left corner if entered correctly. This is essentially the two codes above enabled at the same time with a new badge.
Another day mode
On the character select screen, press alt + shift + F8 . If successful, "another day" will appear in the bottom left hand corner and the game will automatically start.
In this mode, your starting location is different as are some of the fares.
Use taxi bike
On the character select screen, press alt + shift + F9 . If successful you will hear a bicycle bell and the game will automatically start using the taxi bike.
Function key options
Extra view modes can be enabled during gameplay using the following function keys:
- alt + shift + F5 restores the standard camera if alternative view modes are currently being used.
- alt + shift + F6 enables a static "cinematic" camera, usually reserved for replays. Keep pressing to cycle through different angles.
- alt + shift + F7 switches to a first person (or "dashboard") view. Press again to cycle front and back facing cameras.
- alt + shift + F8 enables a speed counter (which can then be triggered off and on with further presses).
References
| Crazy Taxi | |
|---|---|
|
Main page | Comparisons | Achievements | Downloadable content | Changelog | Credits | Hidden content | Development | Magazine articles | Video coverage | Reception | Promotional material | Compliance | Technical information | Bootlegs
Videos: Crazy Taxi (200x) | |
